
Build and Deploy
Congrats! After all your good work making your first site with Greenwood, it's now time to take it live!
Building For Production
If you'll recall from the project setup section, we created an npm script for running Greenwood's build command. If you don't already have it in your package.json you will want to add this to your scripts section.
// after
"scripts": {
  ...

  "build": "greenwood build",
},
And from the command line, run npm run build. That's it!
If you look in your project directory, you will now have a public/ directory that will contain all the static assets (HTML / CSS / JS / fonts / images) you will need to deploy your site. At this point, you can now put these assets on any web server like Apache, S3, Express, or Netlify (which is what this website uses).
Deploying and Hosting
There are many ways to host and deploy a web site, but essentially any static hosting or web server will work for Greenwood, which keeps things simple and easy to setup. No servers needed if you don't need them!
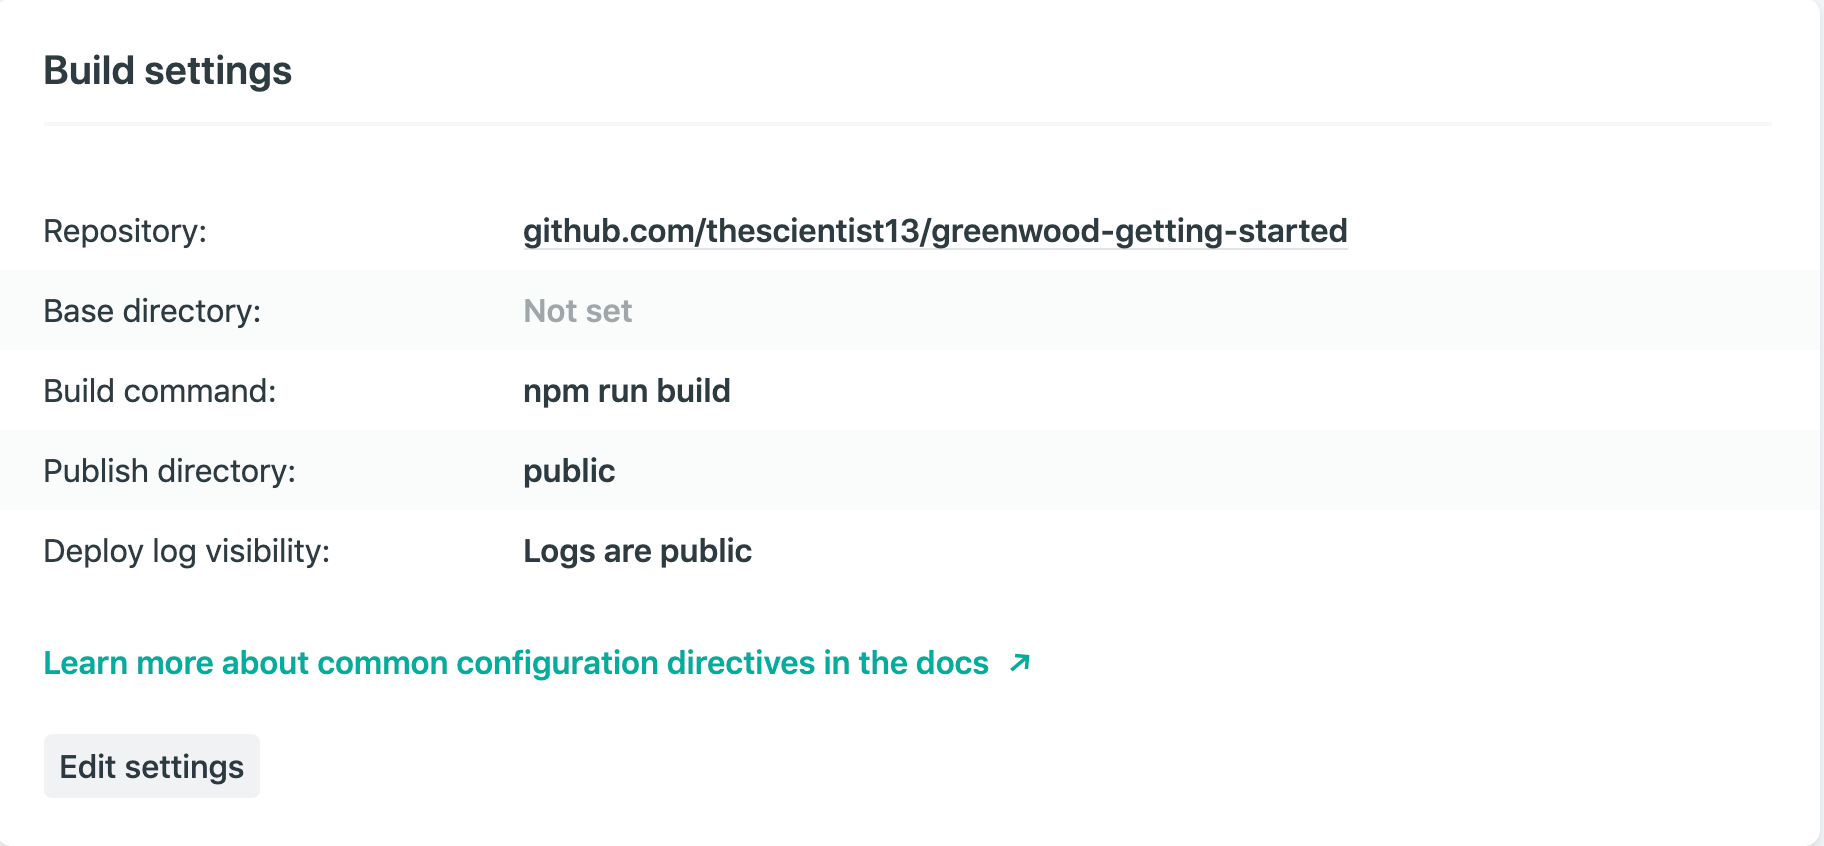
For the Greenwood website, our code is in GitHub and we use Netlify to deploy from our GitHub repo. With Netlify, Greenwood configuration is straightforward. Here is what our Netlify configuration looks like.
We hope to add more guides for common hosting solutions but the beauty of Greenwood and static sites is that they can run just about anywhere with little or no configuration at all.
Before we wrap up, let's show so you some of the default optimization options available with Greenwood.