
Overview
After setting up our project workspace and reviewing some of Greenwood's key concepts, it's now time to get to the good stuff: writing some content and building your first site!
Objectives
In this section, we'll walk through developing a site with Greenwood, and making some content. We'll provide all the code, so you can just follow along. By the end, you'll have a simple blog starter that you can build and deploy to any web server you like, be it Netlify, Apache, Express, or S3. What you do from there, is all up to you!
What we'll cover in this section:
- Home Page Layout: Single column layout for our home page
- Blog Page Layout: Two column layout for our blog posts
- Blog Posts: A couple sample pages of content written in markdown
- Using Greenwood's built in local development server
To go along with this guide, check out our companion repo that has a working example of all the code covered in this Getting Started guide. In the end, what you will end up with is a project looking something like this:
.
├── package-lock.json
├── package.json
└── src
    ├── components
    │   ├── footer.js
    │   └── header.js
    ├── pages
    │   ├── blog
    │   │   ├── first-post.md
    │   │   └── second-post.md
    │   └── index.md
    ├── styles
    │   └── theme.css
    └── layouts
        ├── app.html
        ├── blog.html
        └── page.html
Home Page Layout
Out of the box, Greenwood provides some default content, so even if we use our npm build script, npm build right now, we will get a working site in the public directory. (go ahead and try it out!)
Neat! But naturally you're here to learn how to make your own site, and this is our goal! The first step towards making your site is to create a home page. For this site, the home page will be a "full width" page.
For this layout, create a page.html in a src/layouts/ (make the layouts/ directory if it doesn't exist) and include this code in it:
<html>

  <body>
    <content-outlet></content-outlet>
  </body>

</html>
This will now be used as the default layout used for all your pages. We'll discuss overriding this later on in the guide.
Blog Posts Layout
We just made a layout for our home page, but for our individual blog posts, we're going to want a different layout for those pages. So what do we do? Just create a new layout!
Create a blog.html in src/layouts/ and include this code in it.
<html>

  <body>
    <content-outlet></content-outlet>
  </body>

</html>
Right now both of these layouts are the same, but we'll be customizing these both shortly. 👇
App Layout
Now that we've created a couple page layouts, it probably makes sense to wrap our site with a common layout. By creating an app.html in the layouts/ directory, we can create a common layout for all layouts and pages.
This is a great way to manage global styles, loading the header and footer, or for shared site meta data.
<html>
  <head>
    <title>My Personal Website</title>
  </head>
  <body>
    <page-outlet></page-outlet>
  </body>
</html>
Creating Pages
To make our home page which will use the default page.html layout we just created, create an index.md file in the src/pages/ directory.
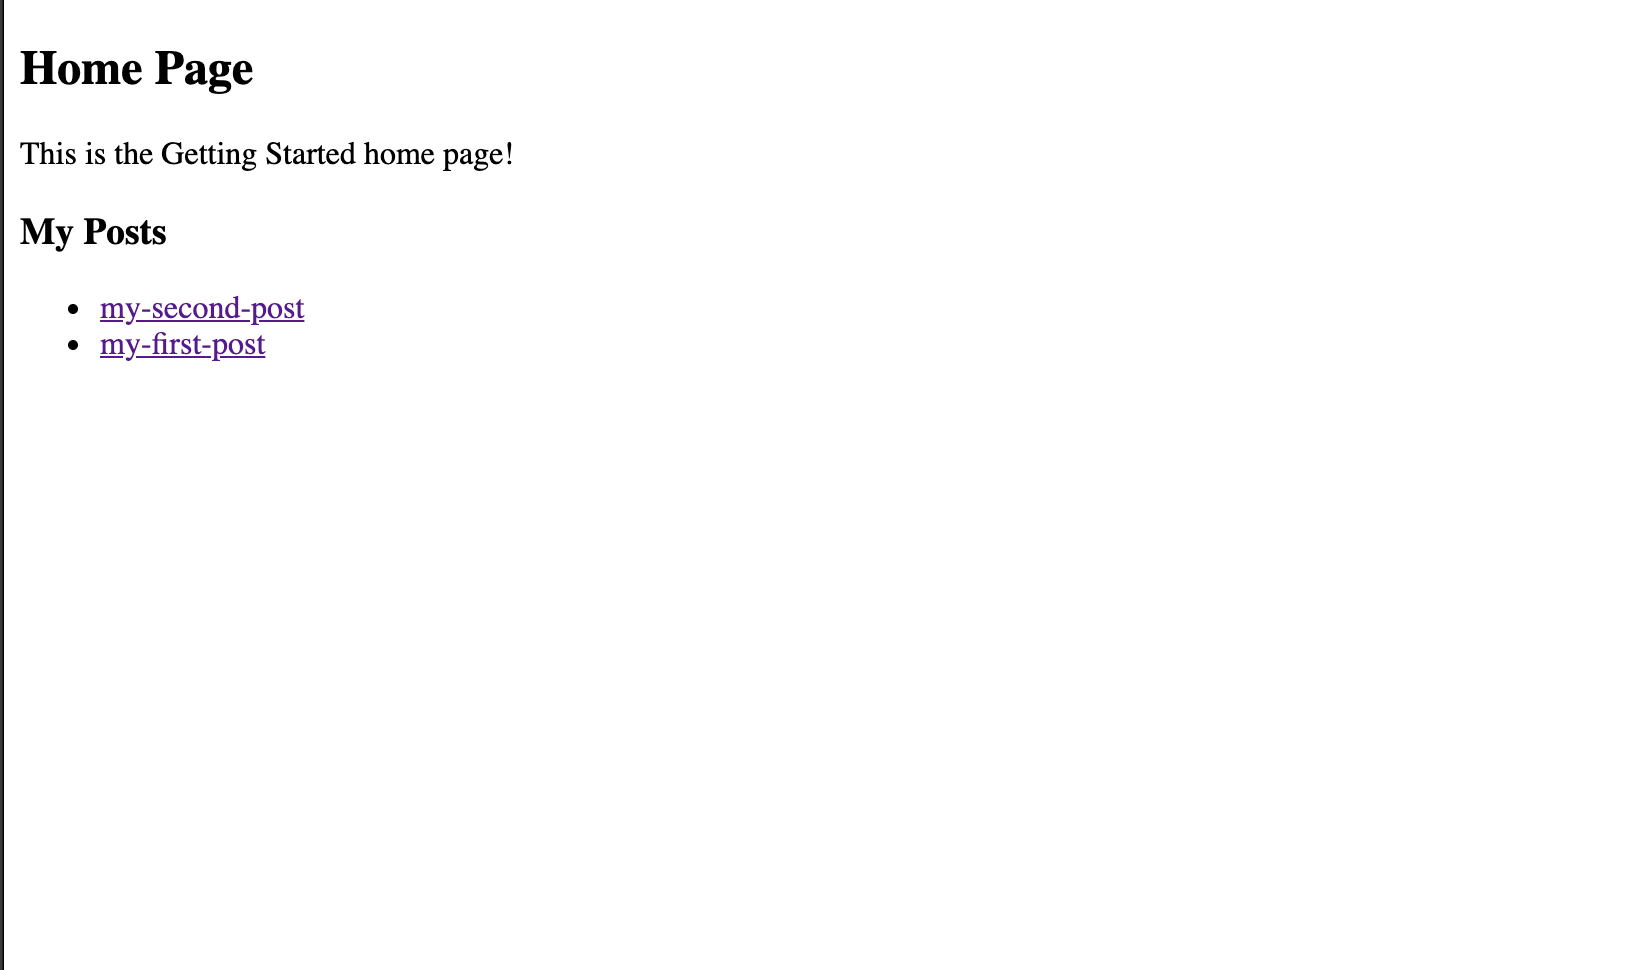
## Home Page

This is the Getting Started home page!

### My Posts
- [My Second Blog Post](/blog/second-post/)
- [My First Blog Post](/blog/first-post/)
For these blog posts, we can give them their own unique URLs by simply putting them in their own directory and by default Greenwood will "slugify" based on that file path and generate routes / pages accordingly.
You'll want to create a folder called blog/ in src/pages/ and then create two markdown files called first-post.md and second-post.md.
first-post.md
---
layout: 'blog'
---

## My First Blog Post
Lorem Ipsum

[back](/)
second-post.md
---
layout: 'blog'
---

## My Second Blog Post
Sed ut perspiciatis

[back](/)
We are using something called "front matter" to specify that these pages should use the blog layout we just created.
Development Server
At this point we have our layouts and three pages of content, so let's fire up the Greenwood development server and see what things look like!
# using the npm script we made during project setup
$ npm start
Once the development server is ready, it will let you know that you can now open localhost:1984 in your web browser. Doing so should yield you a page like this!
Congrats, you've got your first Greenwood site running! It's coming along but still needs a little work. In the next section we'll create some reusable Web Components for the site's header and footer as well as introduce some CSS for styling.